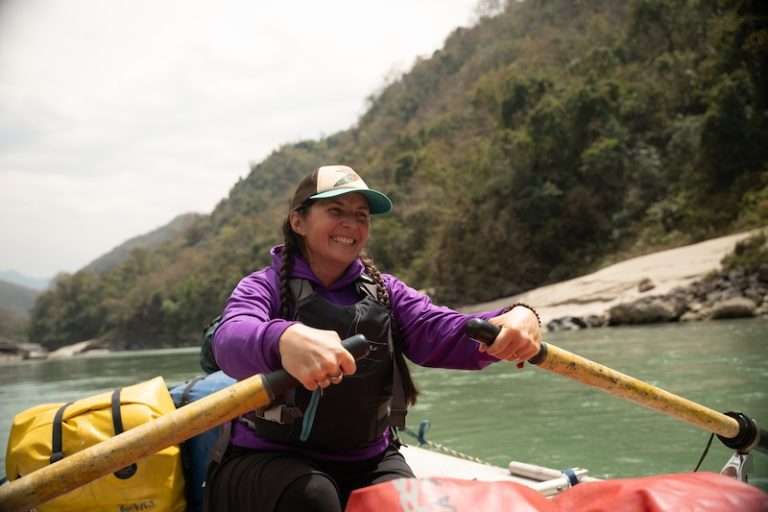
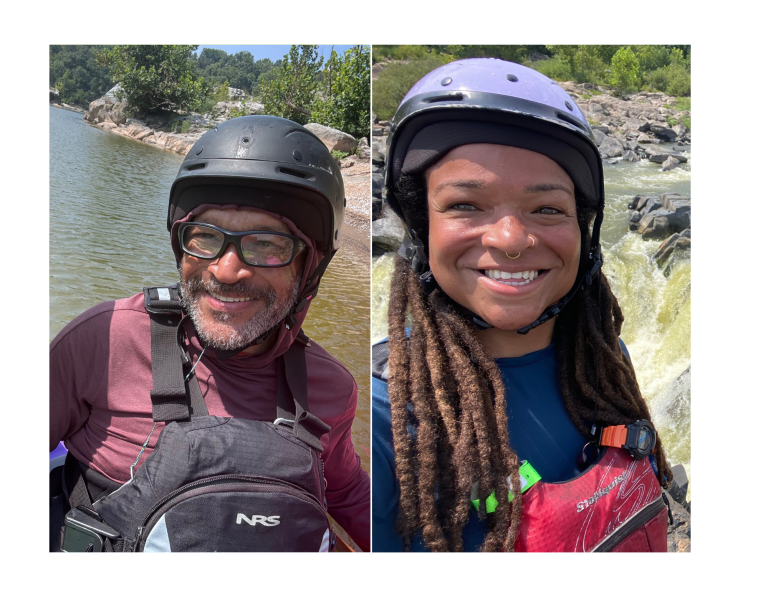
My left hip and low back have been bothering since mid-summer. I taught a lot of kayaking this year, and also paddled quite a bit for myself – which was super fun!
Unfortunately, my left hip/low back got so bad that it was hard for me to bend over and stand back up, I couldn’t lift as much as I could before, and sitting in a kayak felt terrible.
And, maybe you can relate – when you’re body is in pain or uncomfortable, it affects your mood, your mental clarity and your motivation.
I have a daily yoga practice (my body would be broken without it), and I started trouble shooting different poses to see what would work better than what I had been doing. Obviously I need to change something up – my body was giving me clear signals!
Below are the poses that have helped target my glutes, piriformis and erector spine of the low back, as well as the QL and who side body. This combo seems to be working magic for me and I thought that it may help you out too.
And… because I wrote a book called Yoga for Paddling, I was able to go back and pull excerpts for you!
Side Angle Stretch
Side angle stretch is a great pose for stretching the top side body and it is a hip opener that also strengthens the legs.

- Start standing at the front of your mat with your feet sitz bones distance apart and parallel.
- Step your right foot back one leg length.
- Lower your back heel down so that the outer edge of your back foot is in line with the outer edge of the mat.
- Keep a slight bend in the back knee and deeply bend the front knee, keeping it in line with the front ankle.
- Take the sitz bones back and apart, and press the heels into the floor to bring tone to the back of the legs.
- Press the back foot strongly into the mat, to take your front forearm to your front thigh, and extend your back arm by your top ear.
- Enjoy the side stretch from the outer edge of your back foot pressing down all the way through your top fingertips stretching forward.
- Hold for five deep and easy breaths.
- To add a slight twist and chest opener, press your forearm into your front thigh to turn your chest toward the sky, and gently take the shoulder blades back and down.
- Inhale to lift out of the pose, exhale to take your top arm and step back into down dog.
- Switch sides and repeat.
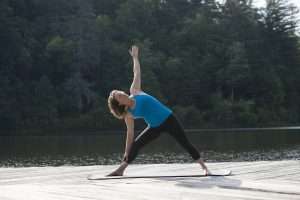
Triangle Pose
Stand on the front of your mat with your feet sitz bones distance apart and parallel.
- Step back one leg length with your left foot.

- Turn your back heel down and your back toes out so that the sole of your back foot is flat on your mat. Look back and see that the outer edge of your back foot is in line with the outer edge of your mat.
- Inhale your arms up until they are extended out at shoulder height.
- Take a slight bend in both knees and take the sitz bones back and apart.
Press strongly into the mat with the outer edge of your back foot.
- Inhale, take your front low ribs down, expand your back ribs and lengthen through the upper spine.
- From the power of your back foot pressing strongly into the mat, take your right hand down to your right thigh and extend your left arm up toward the sky.
- Bring awareness once again to your alignment principles
- Hold for five deep and easy breaths.
- If you want to go deeper in the pose slowly slide your front hand down to your shin, ankle or to the inside or outside of your front foot.
To come out of the pose press into your back foot as you inhale up, or take your top hand down to the floor and step back into down dog.
- Switch sides and repeat.
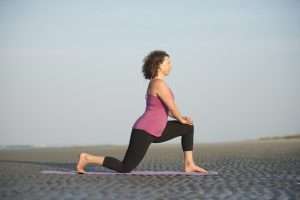
Low Lunge
- Starting in down dog or on all fours hands and knees, step your right foot forward between your hands.
- Take your back knee down while keeping your hands on either side of your front foot.
- Move your front foot forward until your front knee is in line with your front ankle with your front knee bent at a 90 degree angle. Keep your back toes curled under for support and as a gentle stretch to the foot. Keep your hands on either side of the front foot.
- Press the front heel into the mat to engage the back of the front leg and take the sits bones back and apart. This will lift your hips slightly away from the floor and will change the feel of the stretch.
- Keeping the above alignment, press your back knee into the floor and lengthen up through your hip flexor.
- If you want more sensation, take your hands to your front thigh or put your hands on your hips.
- Hold the pose for five breaths and then switch sides.
Modified Side Plank
- Start on hands and knees
- Keeping your left knee where it is on the mat, take your left foot out the left as if it were a kickstand on a bike.
- Extend the right foot back and place the right heel down so that the entire right foot is on the mat. Keep your right knee slightly bent and press the outer edge of the right foot strongly into the ground.
- Take your left shoulder back on your back and extend your right arm up to the sky.
- Take the sitz bones back and apart.
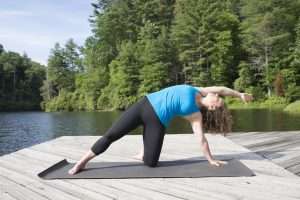
- Take your front low ribs down, expand your back ribs and lengthen through the upper spine and out the crown of your head.
- Take five deep and easy breaths.
- Extend your right arm by your right ear stretching from the outer edge of your back foot pressing down all the way through your right fingertips extending forward, palm facing down.
- Take five deep and easy breaths.
- Switch sides and repeat.
Bridge Pose
This pose is important both for stretching the front of the hips and strengthening the glutes. That’s what’s tricky about kayaking and the glutes – we can’t just stretch them, we also need to strengthen them. I always find this a big confusing, but it works!
- Lie on your back with your knees bent and your feet flat on the floor, and sitz bones distance apart. Check that your toes are pointed straight ahead so that your feet are parallel.
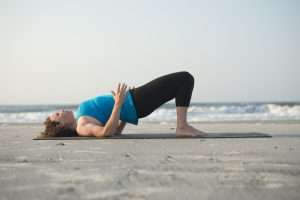
Walk your feet back toward your hips until your heels are in line with the bend of your knees.·
Press your feet, especially your heels and big toes, into the floor to lift your hips off the floor.
- Walk your shoulders blades underneath you to lift and open the chest.
- You can keep your elbows pressing into the floor with your fingertips toward the sky or you can clasp your hands under your back and walk your shoulder blades under even more.
- Press the back of the head gently into the mat and gently lift the chin to maintain the natural curve of the cervical spine.
- Imagine that your knees are gently holding a block between them so that they are engaged and don’t splay out.
Take the sitz bones back and apart, softening the creases of the hips. This action will lower your hips toward the floor slightly. That’s ok! Keep this and…
- Engage the feet as if you were dragging them up toward your shoulders.
- Hold for five deep and easy breaths.
Release your hands and lower your hips to come out of the pose.
Notice the sensations in your body and mind.
Summary
Try these out and let me know how it goes. Are they helpful? What poses do you love in your practice?
And remember that incorporating body work like massage therapy, PT and chiropractic is super helpful as well.
If you want to learn more about yoga for paddling and how it can help you, register for Mental Agility Mastery 8 Week Course coming up in January! We spend a whole week on yoga for paddling and helping you feel comfortable, strong and happy in your own body. CLICK HERE TO LEARN MORE AND REGISTER